Raspberry Pi als Stop Motion Aufnahmegerät
Raspberry Pi als Stop Motion Aufnahmegerät für Freizeit-Trickfilmer.
Konzept
Xxx.
Genauer ..
Zzz
Xxx.
Gehäuse für den stopMotionPi
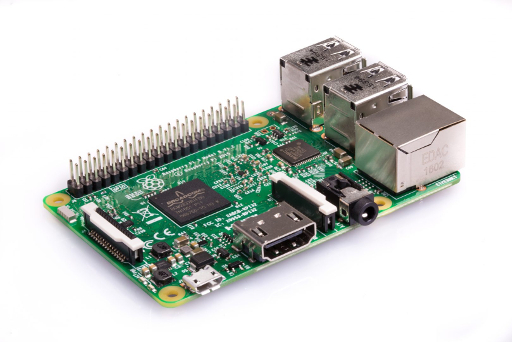
Das neuste Projekt verbindet mein qStopMotion Projekt mit dem RaspberryPi und dem 3D Druck von Gehäusen. Die Idee ist, eine robuste Umgebung für Stop Motion Projekte bereitzustellen, die in Schulen und Amateurprojekten eingesetzt werden kann.
Version 1
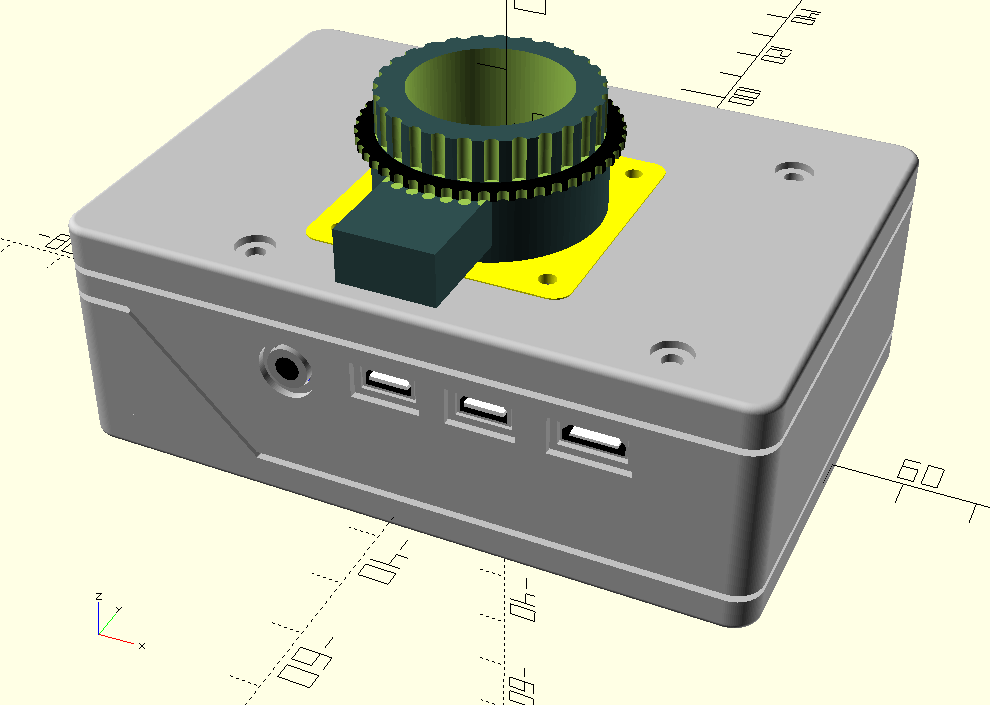
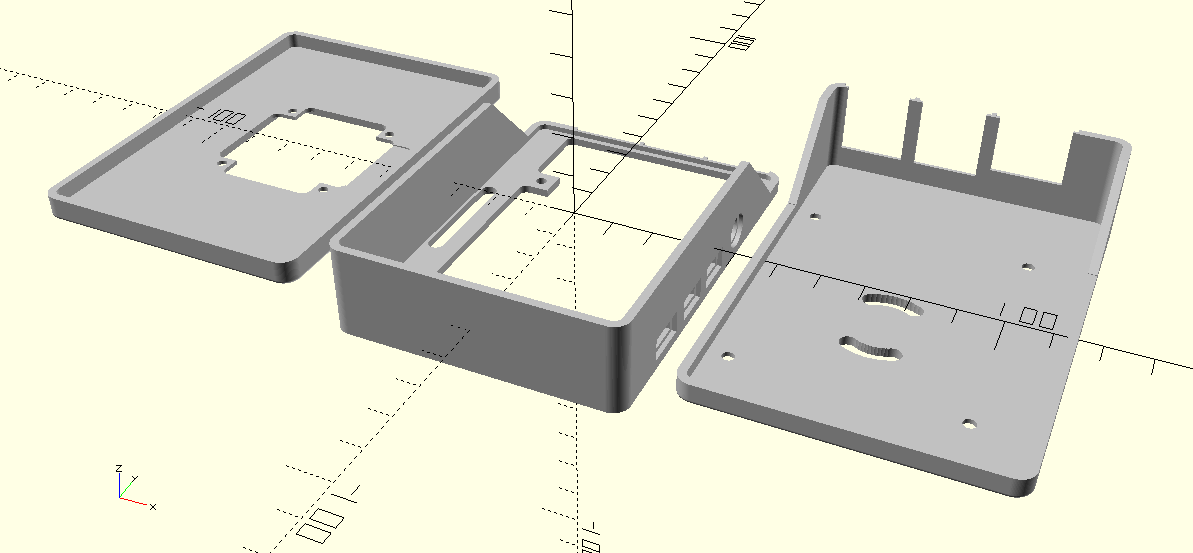
Das Gehäuse besteht aus drei Teilen, die mit acht Schrauben an den RaspberryPi Befestigunglöchern zusammengehalten werden. Im Gehäuse ist Platz für einen RaspberryPi 4B und eine HAT-Baugruppe. Auf der Frontplatte wird ein Rasperry HQ Kameramodul befestigt.
Alle Schnittstellen des RaspberryPi sind von außen zugänglich. Mit der Kamera-Gewinde-Buchse des Kameramoduls wird das stopMotionPi Gehäuse auf einem Foto-Stativ befestigt.
Xxxx
Zzz
Xxx.
/boot/config.txt
  hdmi_group=2
  hdmi_mode=1
  hdmi_mode=87
  hdmi_ct 1024 600 60 6 0 0 0
  dtoverlay=ads7846,cs=1,penirq=25,penirq_pull=2,speed=50000,keep_vref_on=0,swapxy=0,pmax=255,xohms=150,xmin=200,xmax=3900,ymin=200,ymax=3900
  hdmi_drive=1
  hdmi_force_hotplug=1
Gehäuse für den stopMotionPi
Das neuste Projekt verbindet mein qStopMotion Projekt mit dem RaspberryPi und dem 3D Druck von Gehäusen. Die Idee ist, eine robuste Umgebung für Stop Motion Projekte bereitzustellen, die in Schulen und Amateurprojekten eingesetzt werden kann.
Version 1
Das Gehäuse besteht aus drei Teilen, die mit acht Schrauben an den RaspberryPi Befestigunglöchern zusammengehalten werden. Im Gehäuse ist Platz für einen RaspberryPi 4B und eine HAT-Baugruppe. Auf der Frontplatte wird ein Rasperry HQ Kameramodul befestigt.
Alle Schnittstellen des RaspberryPi sind von außen zugänglich. Mit der Kamera-Gewinde-Buchse des Kameramoduls wird das stopMotionPi Gehäuse auf einem Foto-Stativ befestigt.
.accordion-body, though the transition does limit overflow.
.accordion-body, though the transition does limit overflow.
.accordion-body, though the transition does limit overflow.